Turning Beauty In To Art
Whether you are looking for a plaque to place at your front door, a decorative sign to help set off your kitchen/den, or a token to give to a loved one, then I am able to help. All projects are crafted to your specifications and come with optional finishes to not only protect your purchase, but to bring out the natural colours in the chosen wood.
A Brief History of Pyrography
Pyrography, otherwise simply known as Woodburning, is a brilliant art technique which has been around for centuries. This method originate with heating up a heat conducting metal with a point, which was then used to burn patterns& drawings& and letters/words in to pieces of wood or leather. There is centuries old evidence that shows that this art form was used in Rome& Egypt& and China, showing that wood burning has been used in various forms throughout history.
Over time, Pyrography went from using simple heated pointed tools to the modern techniques used today, such as the simple converted soldering irons and the more advanced wood burning machines and laser machines.
Are You Ready To Set This Down In Wood?
Nearly all projects undertaken are not premade, so you can rest assured that what you approach me to to craft for you is made just for you and to your specifications. The only premade items I have in stock are those projects I have undertaken for myself and want to share with the world.
-
Projects I Can Accommodate:
- Signs for Bars, Restaurants, Stores and Businesses;
- POS Signs;
- Decorative Spoons, Plaques and Keyrings
- Items for the Home, Kitchen or Office; and
- Other More Custom or Bespoke Items Not Listed Here...
Pyrography Commisions
At urna condimentum mattis pellentesque id nibh tortor id aliquet. Morbi blandit cursus risus at. Nulla aliquet porttitor lacus luctus. Viverra mauris in aliquam sem fringilla ut morbi. Aliquet eget sit amet tellus cras adipiscing enim eu. Lacinia at quis risus sed. Tincidunt nunc pulvinar sapien et ligula ullamcorper malesuada. Aenean vel elit scelerisque mauris. Nam libero justo laoreet sit amet cursus sit. Tellus elementum sagittis vitae et leo duis ut diam quam.
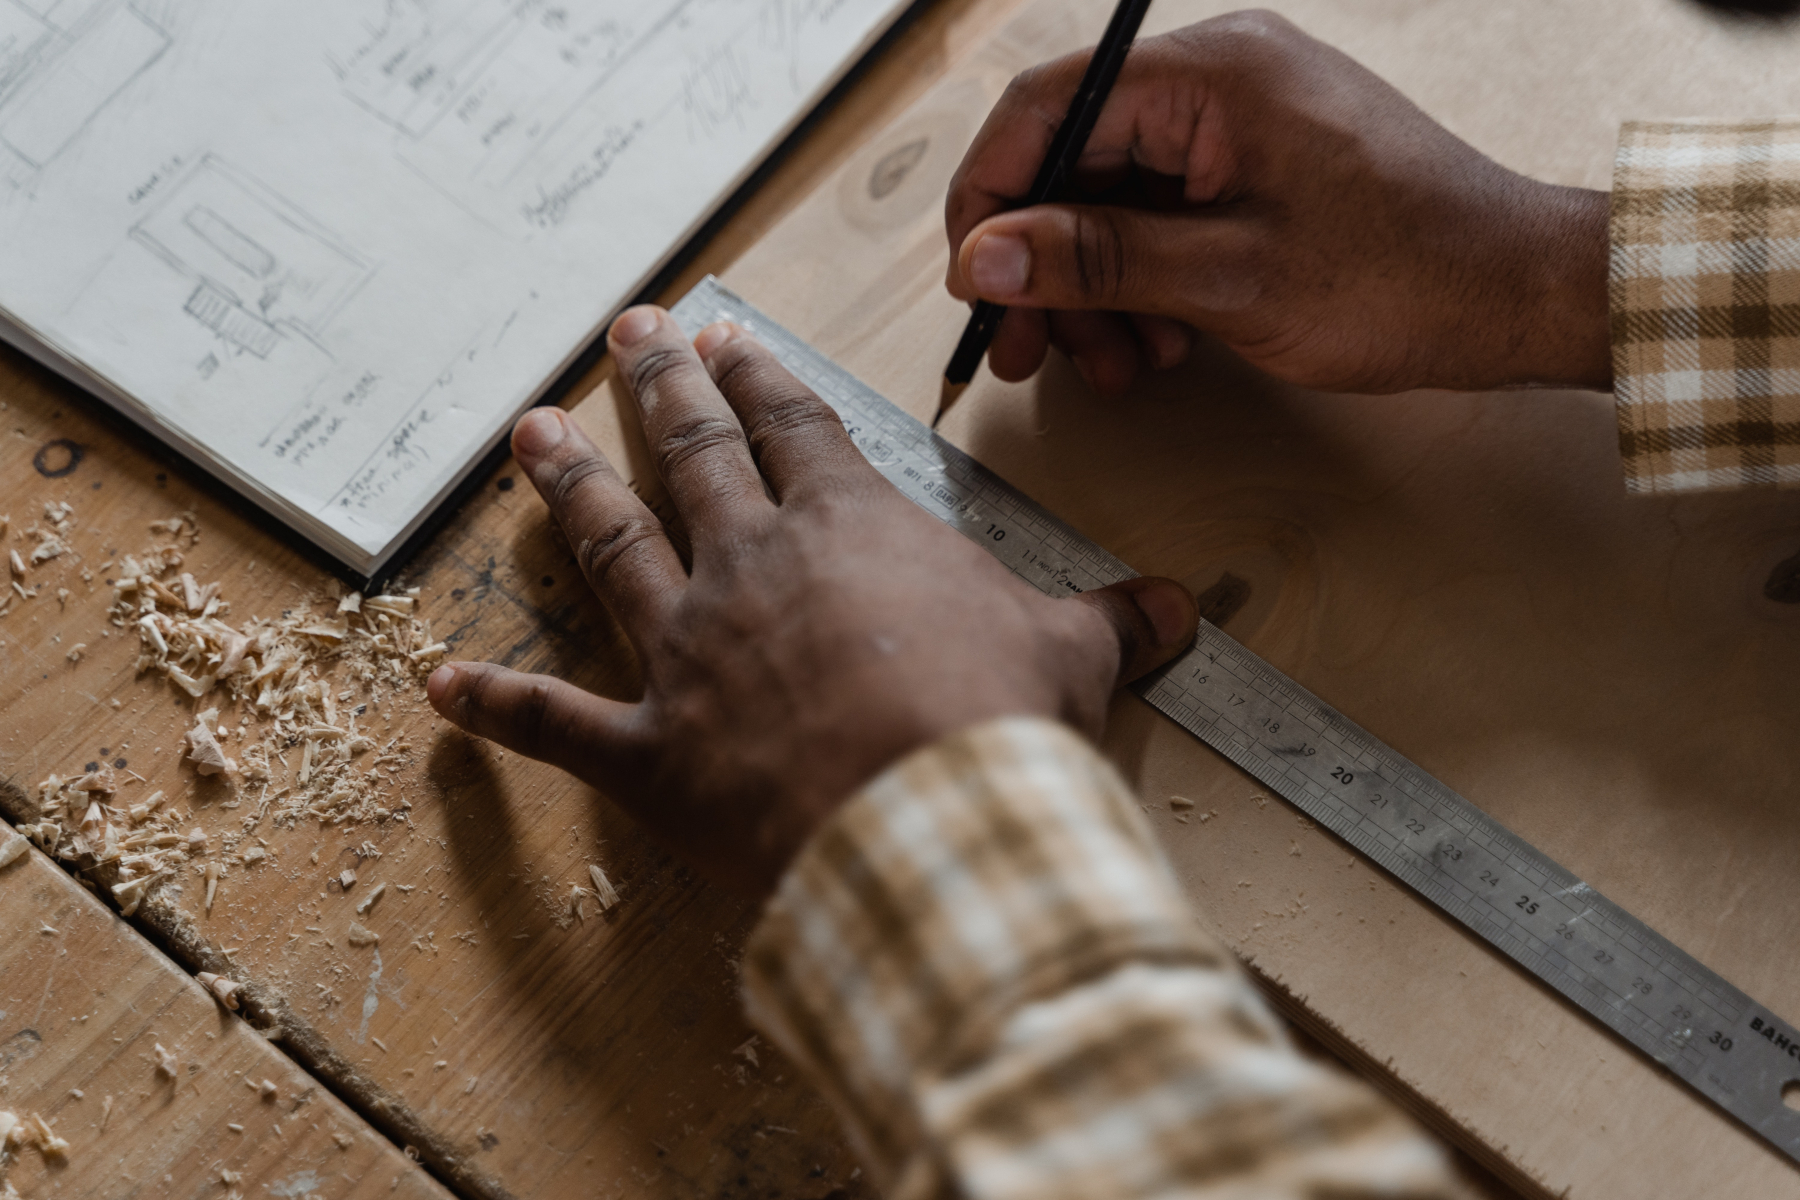
Step 1
Outlininig Your Design
This is where we discuss what it is out of the journey to your dream wood burning begins. At this step we will dicuss what it us you need from The Crafty Developer and draw up a brief with the objectives. Amongst the points that would need to be discussed is comparable designs you really love; rough measurements and shape of the piece of wood; the type of wood the design is to be burnt on; and any coats to help amplify the grain and design, as well as help protect it from damage and wear & tear. Once this is done I will go away and draw up a draft proposal and send it to your for review. Once any and all edits have been agreed upon will it be considered a commision.
Step 2
Designing Your Commission
Here I will draw up three different designs based upon what is agreed upon in step 1 and send them to your for review. Whilst you are reviewing the designs, the needed materials will be sourced so that your commision can start once you have decided upon a design. Should none of the designs catch your fancy, or if one or two of them are almost there, then we can discuss that here and further designs or amendments made until you are happy with what you have been shown.
Step 3
The Burning Begins
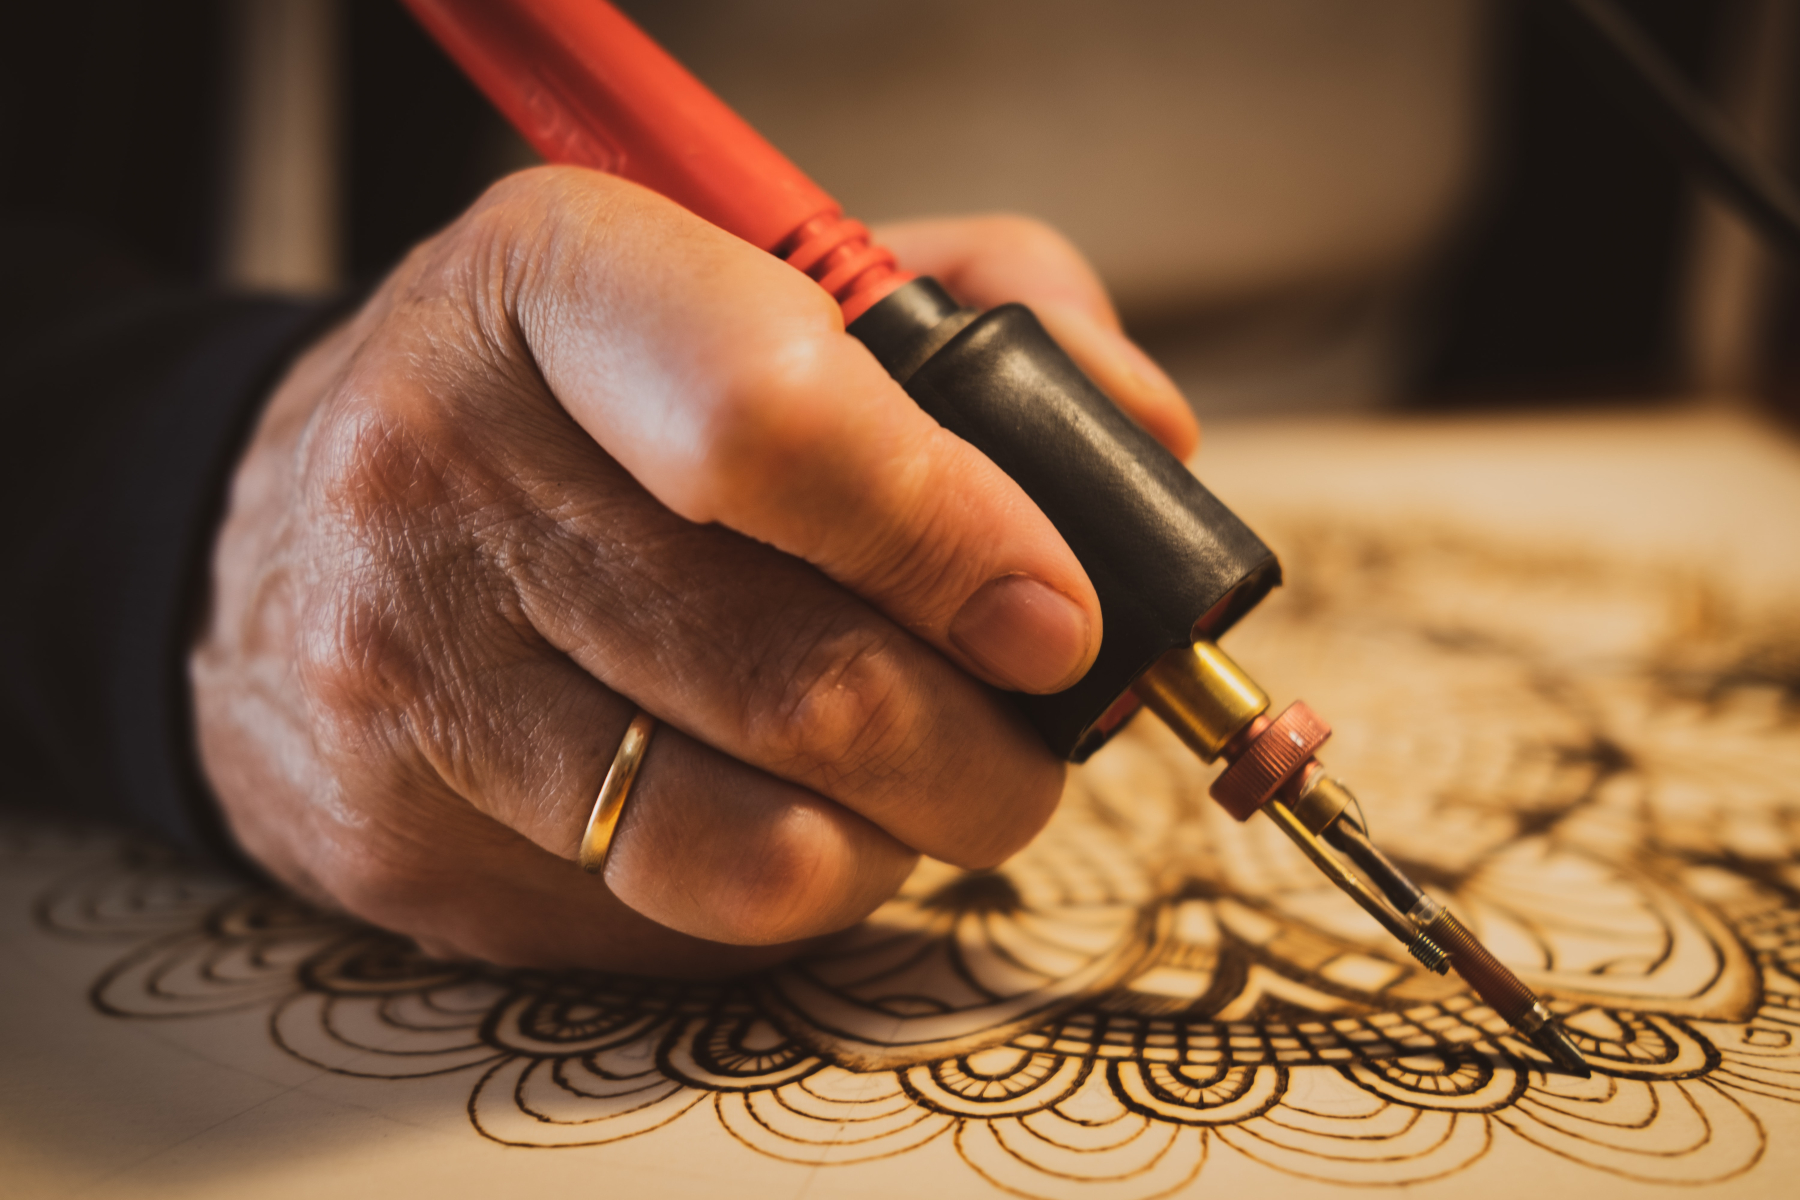
Now that the design has been decided on, turning it from imagination to reality begins. The outline of your design will be drawn on to the chosen piece of wood with what is called Transfer Paper, which can be thought of as reverse tracing paper, so that your design can clearly be seen on the wood. Once this stage is complete the rest of the image is filled in with any shading or colouring that is required, followed by the sealing and coating.